posted by Ahijoy on October 25, 2022
What Is Reverse Weeding?
Weeding vinyl after it has been carved by your favorite cutting machine can be a tedious task, especially if the design is intricate? Weeding becomes difficult with the complexity of the design. Removing extra vinyl to reveal small letters and complicated patterns can be very tiring and time consuming. When you raise the bar too high for yourself by delving into elaborate designing, reverse weeding is the best solution.

If you are a novice, you should know that weeding is the process of eliminating negative vinyl from a design after it has been cut. Being new to the crafting world, you might get nervous about starting a detailed project just because you think weeding can be very frustrating. In this article, we are going to talk about reverse weeding, how it is done and how it makes the process much easier.
How To Reverse Weed
Let’s first understand what reverse weeding is. Its simple definition is that it is a technique in which transfer tape is applied to the design and the paper backing is removed to weed off extra vinyl, while the design is stuck on the tape only.
Follow the steps below to master this process.

Gather The Right Tools
Before embarking on any project, it is important to have the right tools handy. The following are required for reverse weeding:
Quality Matters
First things first, make sure to use high-quality vinyl. There are different types of vinyl available in various colors and finishes. Do not compromise on quality. If the vinyl is excellent, cutting and weeding can be very easy.
At Ahijoy we have premium quality vinyl available in a wide variety of colors, textures, and patterns. Choose the one that you love and start crafting.

Create Your Design
Once you have decided on the vinyl you will use, create your design. You can do so using the software that comes with your electronic cutter.
Cut The Design
A good cut is very important for the best reverse weeding experience. You can use any die-cutting machine that you are comfortable with such as Cricut or Silhouette.

Make sure that the cut is not too deep otherwise the vinyl will lift off when you remove the paper backing. We recommend a test cut to make sure you are on the right track. Trim the area around the design to keep your cut intact and handling easy.
Apply Transfer Tape
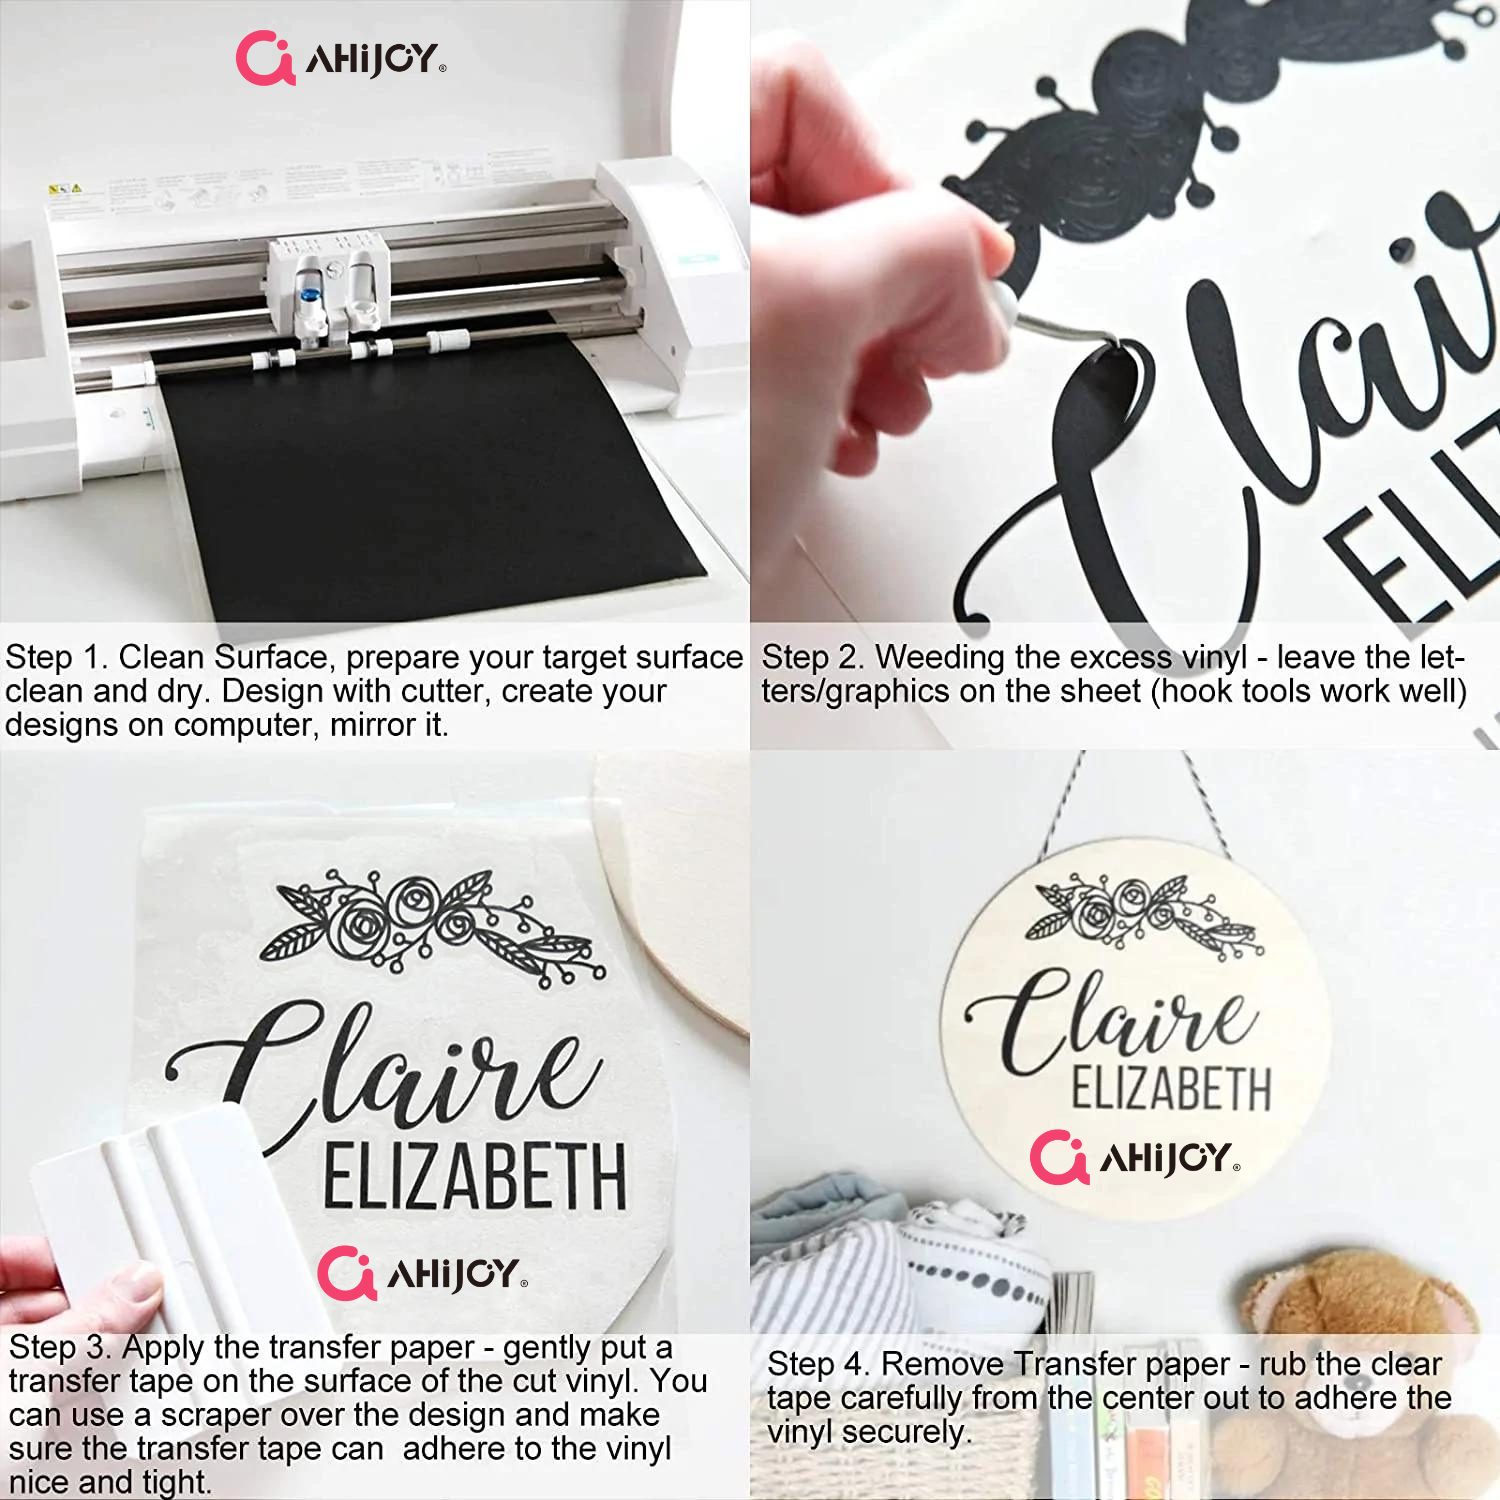
Cut your transfer tape so that it covers the entire design. It should not be less or too big for the design. Apply it on top of the vinyl and burnish. The sticky side of the transfer tape should be pasted on the colored side of the vinyl. Rub it well on the front and back with a squeegee so it sticks perfectly. Make sure to rub it twice or thrice on each side.
Tip: Keep the transfer tape at least one inch bigger than your decal from all sides.
Remove The Carrier Sheet
Turn the piece of vinyl over and remove the vinyl backing or carrier sheet. Start from the upper left corner and remove diagonally. Do it slowly so that none of the small pieces of the vinyl come off with it. Now your design is stuck to the transfer tape only.
Tip: If the vinyl has not completely transferred onto the transfer tape, repeat the process of burnishing. Proceed to the next step only if the paper backing comes off easily.
Now let’s Reverse Weed
Place the design on a flat surface with the adhesive side on top. Peel off the bigger chunk of the unwanted vinyl from the design. Pull a little piece from the upper left hand corner using a weeding pen. When it is big enough to be held in hand, peel off the rest of the vinyl.
Now only small pieces in the inner cavities of the design will be left. Peel these negative pieces one by one using your weeding tool.
Tip: Use a well-lit space to weed off vinyl from small cavities. It is important to have proper lighting in the area so that none of the pieces are left.
Frequently Asked Questions
Conclusion
As you might have gauged by now, reverse weeding is the best strategy to employ while removing negative vinyl from small and complex designs. Weeding from the transfer tape instead of the vinyl backing helps to keep all the tiny details in place.
Reverse weeding is an easy yet fun way to weed your amazing delicate designs, so what are you waiting for, buy the best quality vinyl and weeding pens from Ahijoy, and start creating amazing crafts!


