posted by Ahijoy on October 26, 2022
How To Put Vinyl On A Curved Surface
If you do not like the mundane look of that tumbler that you so love to carry along whenever you go out, you can completely revamp it according to your preference. After all, it is your trusted source of daily caffeine fix. You can easily add a personal touch to it, and what better way to do so than to decorate it with vinyl.

Adhesive vinyl is one of the most convenient mediums to renovate and embellish any clean, smooth and dry surface in a jiffy. With numerous variations, we have a lot of options in both color and pattern to glam up those boring surfaces that surround us.
While the application of vinyl on a flat exterior is easy, it is quite tricky to put it on a curved surface. Take drinkware for instance. Your jugs, glasses, tumblers and jars have curved surfaces therefore transferring vinyl on them smoothly can be a bit difficult.
We, at Ahijoy, present to you a step-by-step guide to help you apply the vinyl easily and display your work with pride. First, let us list down the implements you will need for this.
Tools Needed To Put Vinyl On A Curved Surface
For this project you will need the following:
- Object with a curved surface. It can be your favorite mug, jar, tumbler, bowl or a Christmas ornament.
- Squeegee.
- Washi tape or painter’s tape.
- Vinyl for application. You can get a large variety of colors and finishes in top quality vinyl from Ahijoy.
Step-By-Step Guide For Vinyl Application On Curved Surfaces
We have decided to show you how to put vinyl on a tumbler. It is smooth and round and can be an excellent example for any similar surface. Follow these simple steps to make vinyl application a breeze.

Step 1: Choose your Design and Cut it Out
It is not easy to put decals on a rounded surface. First, you need to make sure that the design or text you have chosen has dimensions that will fit your project. Once you have decided what decal you want on your tumbler, cut it out using your favorite machine.
Step 2: Weed Out the Extra Vinyl
Next, weed out the design making it ready for application. Ahijoy has some of the best weeding pens that will make the process quick and easy.
Since it is a curved surface, you might want to support it from both sides so it does not roll away while you are pasting. Put your tumbler between two cushions or books that will stop it from moving.
Step 3: Transferring The Vinyl Decal On The Project
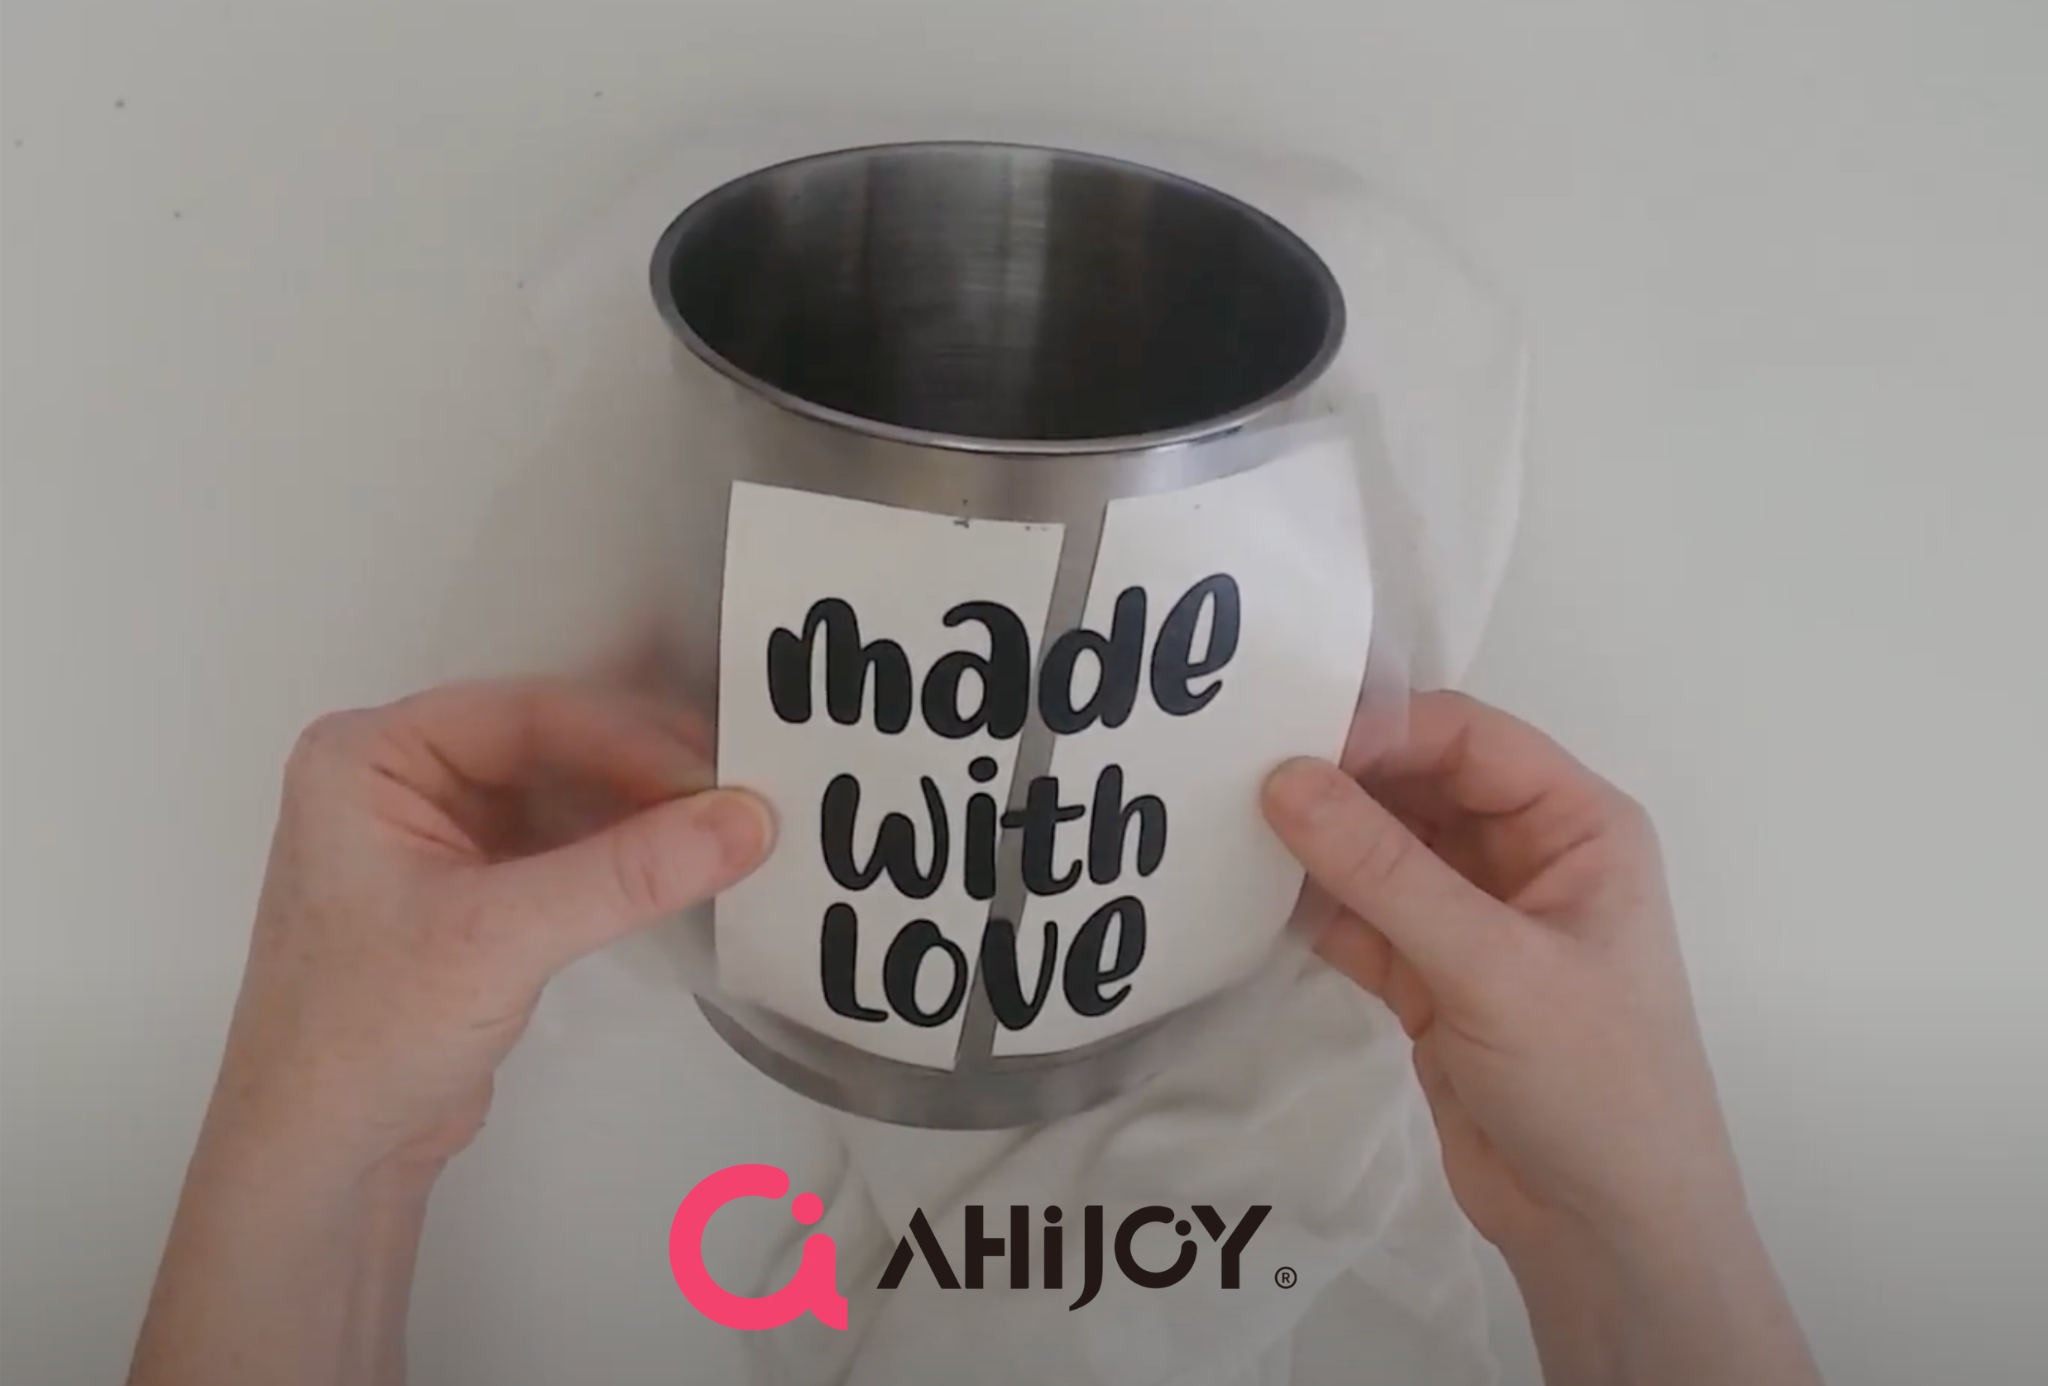
You can now use the hinge method for pasting decal on your project. There are two ways to do it.
1. The Self-Hinge Technique
- Remove the paper backing from the transfer tape completely. Cut the backing in half.
- Paste the transfer tape on the decal and smooth it out with a squeegee.
- Paste the paper backing again on each side of the transfer tape leaving space in between. The center of the transfer tape should be exposed. This will serve as a hinge.
- Paste the decal on the project from the center which is exposed. Burnish it to remove any creases and make it grip the surface tightly.
- Next, remove the paper backing from each side one by one. First paste one side of the decal then the other burnishing with the squeegee or scraper.
- Once both the sides have adhered, burnish the decal again to ensure that it has stuck completely. Now remove the transfer tape, and voila! There it is! Your design over the project is ready to flaunt.

2. The Tape-Hinge Technique
- For this method, you need a washi tape or a painter’s tape. Remove the paper backing from the transfer tape and apply it to the vinyl design. Burnish it with a squeegee to remove any creases and ensure adhesion.
- Place a painter’s tape in the center of your decal over the transfer tape in such a way that it extends beyond the edges of the tape.
- Paste the decal from the center on the surface using the extended ends of the painter’s tape. They should grip the surface of your project.
- Remove the paper backing from the right half of the design.
- Cut the removed backing and adhere half of the exposed design to the surface. Burnish with a squeegee.
- Once it has pasted well, there is no need for the washi or painter’s tape. Remove it then take off the paper backing from the remaining half of the decal and paste it on the surface.
- Burnish the decal over the curved area. Once you are convinced that the decal has tightly gripped the surface, remove the transfer tape.
- Enjoy a perfectly pasted decal on a curved surface.
Conclusion
Making crafts with adhesive vinyl is an easy task and such a pleasure. Initially, working on a curved surface might be a bit intimidating but with the hinge method, you can easily make beautiful projects for yourself and your loved ones. You only have to master the technique through practice and once you get the hang of it, you can transform any suitable surface into a brilliant work of art whether it is flat or curved.


